prerequisites
First of all, make sure you have Node.js and Git installed on your machine.
Hexo
Run the following commands in your favorite terminal:
1 | npm install hexo-cli -g |
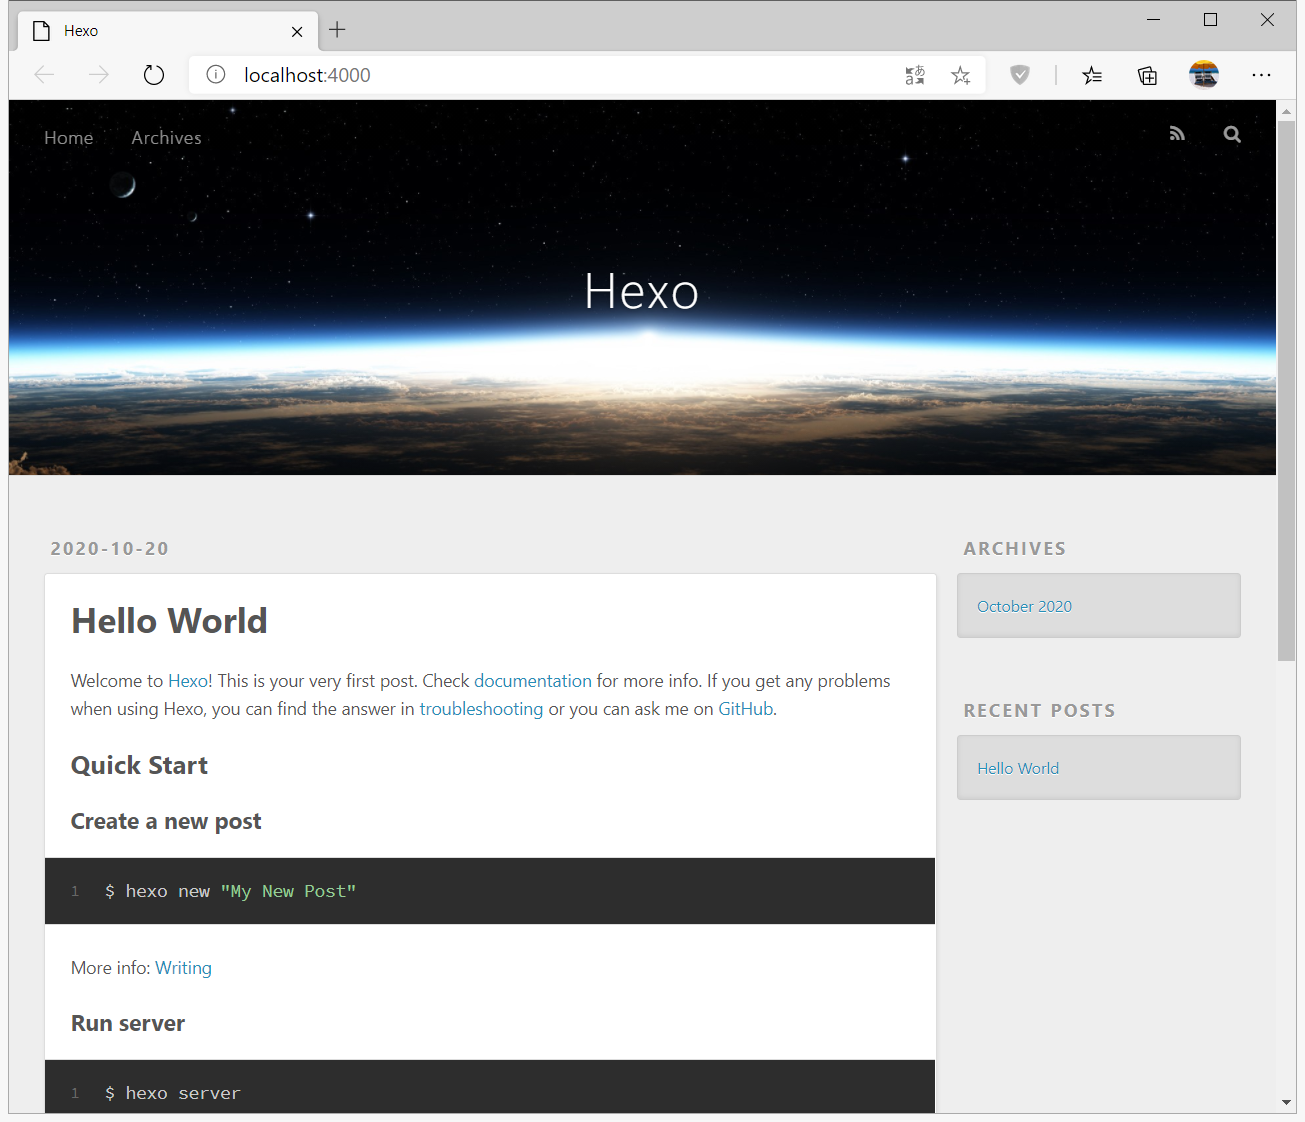
It might takes a few minutes to finish, If everything goes smoothly, you have successfully installed Hexo. Now visit http://localhost:4000 in your browser, you can see your hexo blog is running:
To create a new post, run the following in your terminal:
1 | $ hexo new "My New Post" |
Refresh you blog page, you will notice the new post has been displayed.
GitHub Pages
There are two ways of deploying to GitHub Pages.
- use GitHub Actions - It works in both public and private repository.
- One-command deployment - If you prefer not to upload your source folder to GitHub.
I would prefer the second solution because I don’t want to upload my source folder to a public GitHub repository.
- Install hexo-deployer-git.
1
npm install hexo-deployer-git --save
- Add the following configurations to _config.yml (remove existing lines if any)
1
2
3
4
5deploy:
type: git
repo: https://github.com/<username>/<project>
# example, https://github.com/hexojs/hexojs.github.io
branch: gh-pages - Run hexo clean && hexo deploy
- Check the webpage at username.github.io.